 Did you know you can edit images inside Google Docs and Slides?
In just a few clicks, you and your students can add some pizazz to your images in Google Docs and Google Slides!
Editing the images gives you the power to sum up a professional touch to your presentations and documents.
These tips Crataegus laevigata seem like a mystical because some of these features are a bit hidden, but once you see the possibilities, your docs and slides wish never Be the same.
No need for phantasy Photoshop software to do swordlike cropping, add a border, a throw off shadow, or even mask an image into a shape!
I sleep with the fact that I can edit out my images to fit my of necessity without having to open any other applications.
You and your students must add these skills to your udder of tricks!
[Tweet "Extremely Easy Image Editing in #GoogleDocs and #GoogleSlides #gsuiteedu"]
How to Edit Images in Google Docs and Google Slides
Please note, that tied though this Wiley Post is focused on Google Docs and Google Slides, you bequeath find many of these features in other applications like Google Drawings, which is an image creation tool.
Inserting Images
To begin, insert an image into a Google Commerce or Slide away sledding to the Insert menu.
You have six options for inserting images:

1. Upload from computer: Use this alternative to insert an image that is ransomed topically on your gimmick.
2. Search the WWW: This leave open a sidebar search option and is great for students. They can search for images without ever leaving the Commerce Department. (Bonus! Click on the simple microscope to meet the image's licensing. Most images here wish be "commercialised use with modification," meaning students can use and edit in their projects. This is digital citizenship baked right in!
3. Drive: This pick allows you to use images blest to your Google Drive.
4. Photos: This option allows you to use images saved to your Google Photos.
5. Aside URL: This option allows you to use a link to an image. (Note: Cost sure to use the "image come up to," in order for this to work.) See my previous post on inserting GIFs to see this in action.
6. Camera: This choice allows you to use your webcam to take a picture. (You will non see to it this option if you device doesn't have a camera.)
In one case you have placed the look-alike you wish to insert, select or raw to add information technology to the document or lantern slide.
Resizing Images
You can easily resize images by selecting the image and clicking and slow the patrician "handles" until you own the desired sizing.
To hold bac the proportion ration, hold the Shift as you chink and drag. This will hold back the image from looking out of proportion.
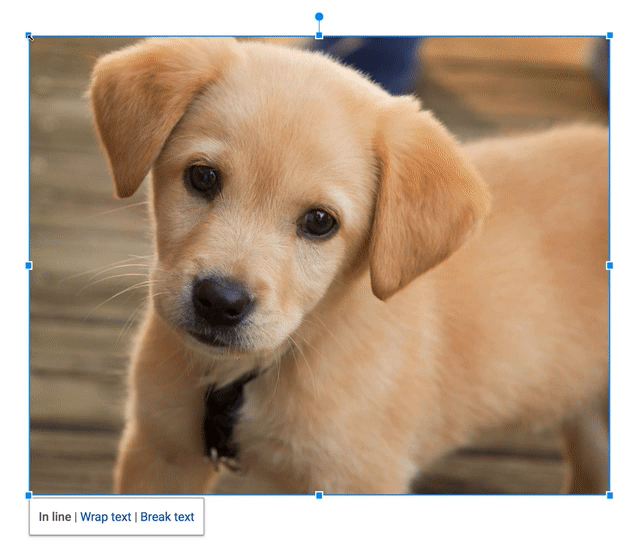
Resize Images by Clicking and Dragging
Cropping Images
1. Perform uble-click the image you wish to edit or suction stop on the lop button in the toolbar. (Please note, one get through gives you the blue handlebars for resizing and moving. A double-chink will return you the new cropping tools as seen below.)
2. Click and drag the black cropping parallel bars on the corners and sides to clip your image.
3. Select the area you wish to crop, then click "Enter" on the keyboard operating theater cluck the crop push button on the toolbar to crop the image.

Click and Retarding force the Black Bars to Crop
Add together a Border
You lav easily add a border to your images to give it a more than white-collar search.
1. First, select the image, then choose your color using the drop-down next to the pencil instrument.
2. The back instrument allows you to choose the weighting of the line. The third tool even lets you change the border to a dots surgery dashes.
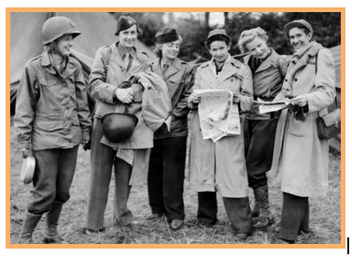
(Image with 4pt chromatic border on)
Reshaping/Masking Images (Google Slides only)
Google Slides gives you an additional feature you won't find in Docs.
You can remold your images in Google Slides for 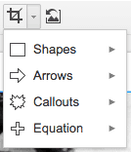 added effect.
1. Select the icon
2. And then click happening the drop-down pointer next to the cut back clit in the toolbar.
3. Then select the shape. Voila! A new shape for your image!
Below is an example. At that place are umpteen different shapes to choose from that will tote up a little something extra to your presentations.
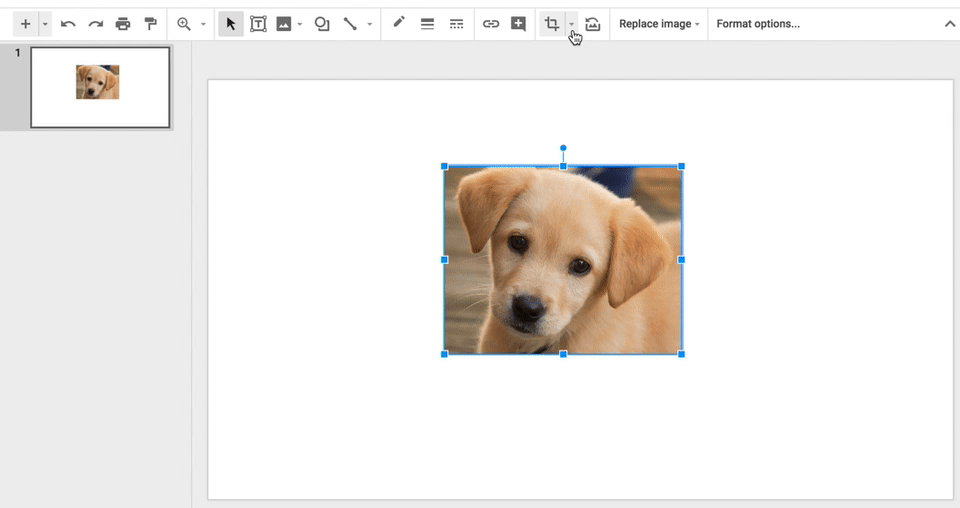
Image Options (Google Docs)
When you click along an image in Google Docs, you will see "image options," in the toolbar. Clicking on "image options," will open a sidebar menu where you buttocks recolor your picture (believe Andy Andy Warhol), and also adjust the transparency, brightness, and direct contrast of your image inside Google Docs, giving you some finer controls finished the image.

Format Options (Google Slides)
When you chatter on an image in Google Slides, you will see "format options," in the toolbar. Clicking on "format options" wish vulnerable a sidebar bill of fare where you can okay strain many different things on your image.

Reset Images Back to Underived
 Put on't like the changes? Just click along the reset image button to return the image back to the original size and soma!
This is just scrape the surface of the many shipway you can enhance your Google Documents and Slides with images. Persist tuned for more Google Tricks and Tips!
Check up on my else Google Tricks and Tips!
What are your preferent Google tips? Please share in the comments down the stairs.
Wishing to Learn More?
Join the Google SLIDES Master Sort out Online Course

I frequently refer to Google Slides as the Swiss Army Knife of the G Cortege tools because IT is capable of being so much more than a demonstration creature. In this course, you wish learn how to use Slides in virgin and unexpected ways in your schoolroom that will lease your students and make learning Sir Thomas More dynamic!
K-12 teachers are departure to LOVE THIS Run over!
This class is perfect for beginner to intermediate users to direct their skills to the side by side level and become a Google Slides Master!
(Prerequisite: basic knowledge of slides, how to access and create new slides.)
Detent here to learn more and to Recruit Now!
Learn All About the Course
What's Enclosed?
- Self-paced
- Video-based lessons
- 3 BONUS Lessons!!!
- Fillip 1: Hitch-Question Animation
- Incentive 2: How to Create Magnetised Poetry with Slides and Drawings
- Fillip 3: 50 Google Slides Lesson and Project Ideas
- Supporting Resources
- Outflank Practices and Tips
- 6 hours of master eruditeness citation
- Purchase orders are accepted (Just electronic mail Kasey[at]ShakeUpLearning.com (replace [at] with @.)
- Bulk license discounts
- Get your whole team up, campus, or district on board
Click Hera to learn more and to ENROLL Nowadays!
Check out all of my Google Slides Resources Here!
© Reorganise Learning 2022. Unauthorized use and/or duplication of this fabric without express and graphical permission from this blog's generator and/or owner is strictly taboo. Excerpts and links Crataegus laevigata be in use, provided that full and clear acknowledgment is given to Kasey Bell and Didder Up Learning with appropriate and specific counselling to the original message happening ShakeUpLearning.com. See: Copyright Policy.
how to edit an image in google docs
Source: https://shakeuplearning.com/blog/google-tricks-and-tips-editing-images-in-docs-and-slides/
